Silk flowers are a crafting staple, but really nice ones can be so expensive! This tutorial will show you how to take really cheap, not so attractive silk flowers and make them look awesome.
This craft is suitable for ages 8 and up.
Time needed: about 3 minutes per flower
Supplies: Silk flowers, wire cutters
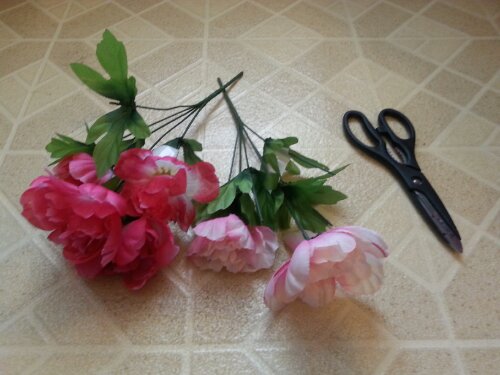
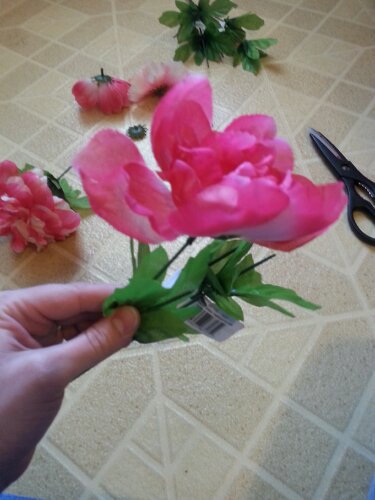
Step 1: gather your supplies. I’m using what I think are supposed to be peonies from Dollar Tree, and kitchen scissors because I can’t find my wire cutters (I’m guessing hubby has them stashed in the garage somewhere. Ugh.)
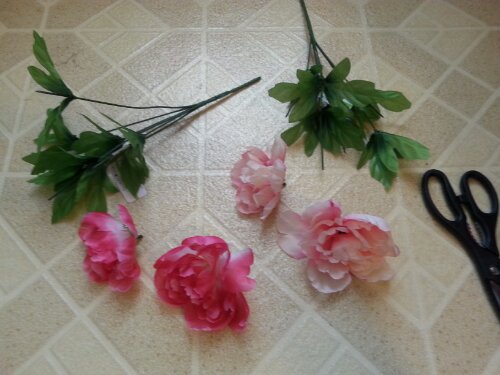
Step 2: Pull the flowers off the stems.
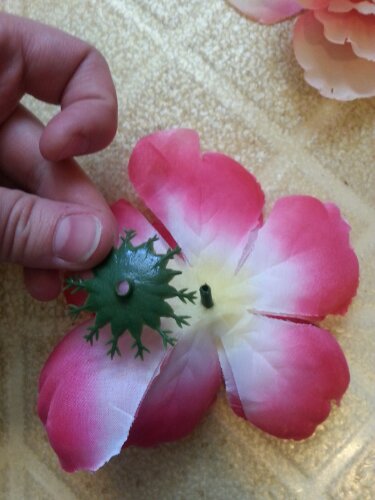
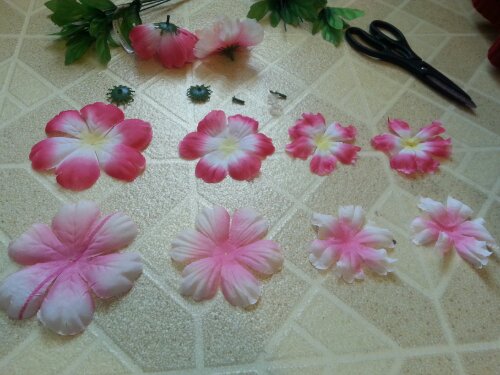
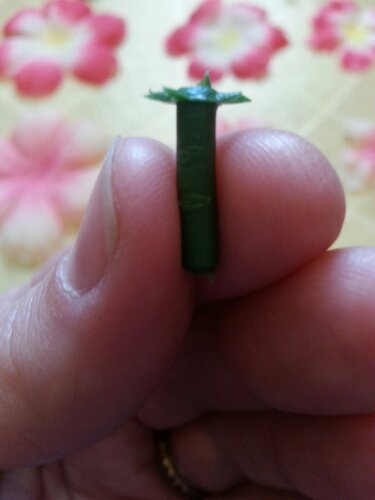
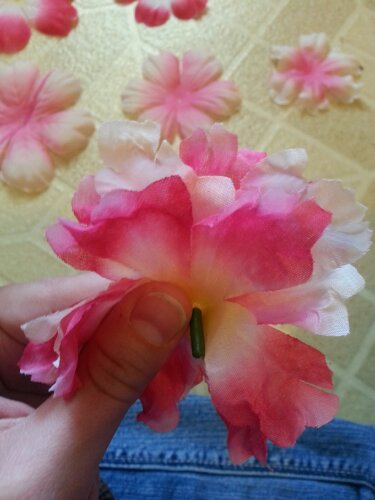
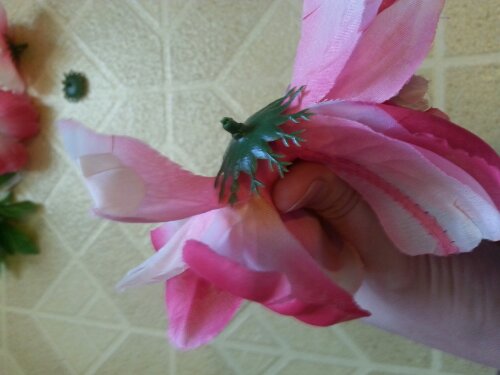
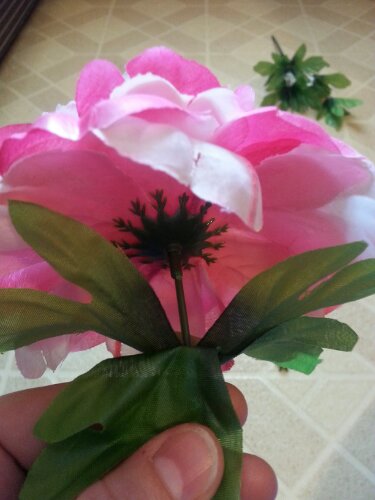
Step 3: Disassemble 2 flowers. You’ll combine these to make one much better flower. You do this by taking the green plastic thingy off of the back…
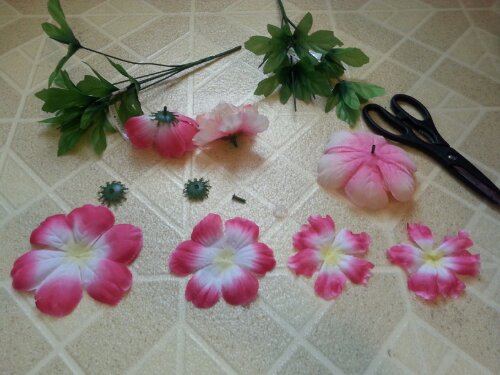
Then pull the petal layers apart like this:
Save all the little plastic doodads. You’ll need those. Do the same thing with the second flower. I’m using 2 different colors so it’s easier to follow along, but it also adds a lot of interest to your flowers to do this. You can just use one color if you prefer.
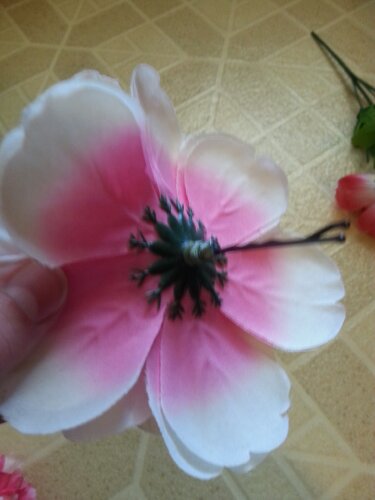
Step 4: Reassemble the flower. Start by taking one of the little green centers
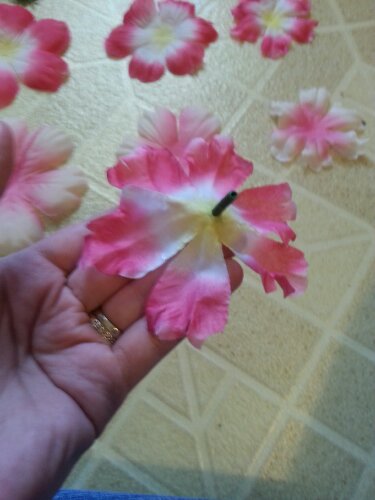
then stack the petals onto it, starting with the smallest.
Make sure to stagger the petals so there aren’t any gaps. Don’t worry about the little white plastic “basket” things you pulled off during disassembly. You don’t need them.
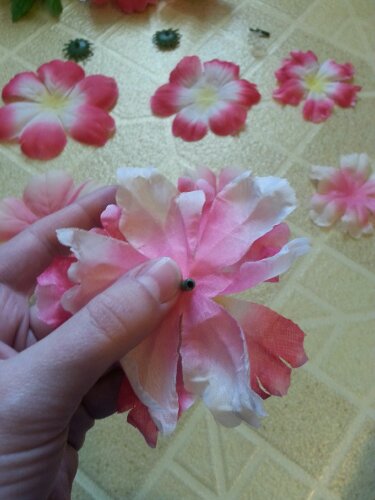
After you’ve got them all stacked…
Step 5: Put the green plastic base back on. P
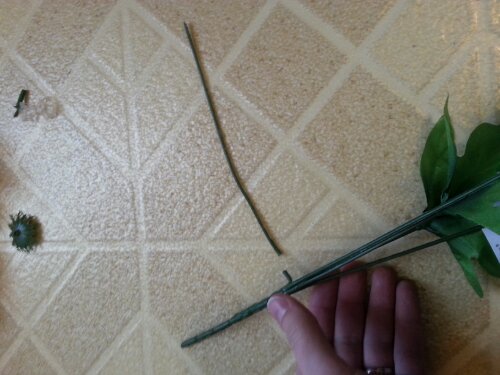
Step 6: Cut a stem off of the flower bush using wire cutters. I’m using kitchen scissors. I do not recommend this.
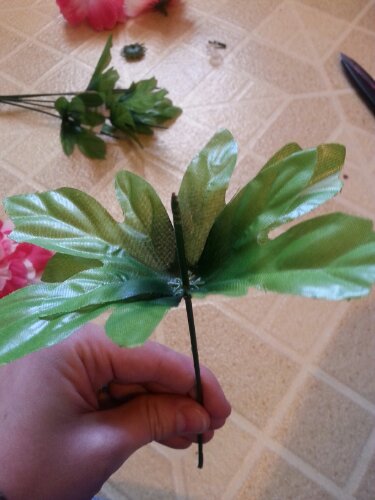
Step 7: Slide a couple of the leaves onto the stem. I stuck 2 of the leaves together to make it fluffier. You can do this if you want but it’s not necessary.
Step 8: Stick the flower on the stem above the leaves.
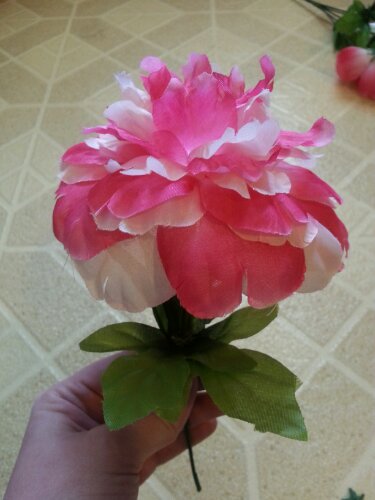
That’s it! You’ve gone from this:
To this!
Once you’ve got the hang of it, experiment with color and shape combinations. You can also skip the stem step and insert the bent end of a bobby pin into the hole to make a hair pin like this:
Fun!

